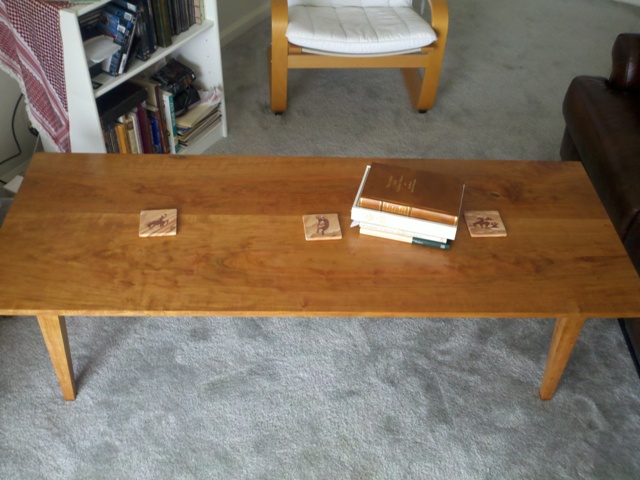
I had to build a new coffee table. The was mainly a hand tool project. The only machines I used were a table saw, jointer, thickness planer and a hand held electric planer to get most of the material off the underside taper of the top. In doing this project I realized that woodworking is a simple endeavor. You mark a line and saw, chisel or plane to the line.
All the mistakes I make are related to marking the line in the wrong place or sawing, chiseling or planing beyond the line. So In order to improve my woodworking techniques I did something radical. I took my copy of The Essential Woodworker, into the shop and left it there. Now, before I begin a task that I have not done in a while, I break open the book and see what the author Robert Wearing (RW) has to say. For example, I was cutting tenons for a new coffee table and wanted to share what I learned.
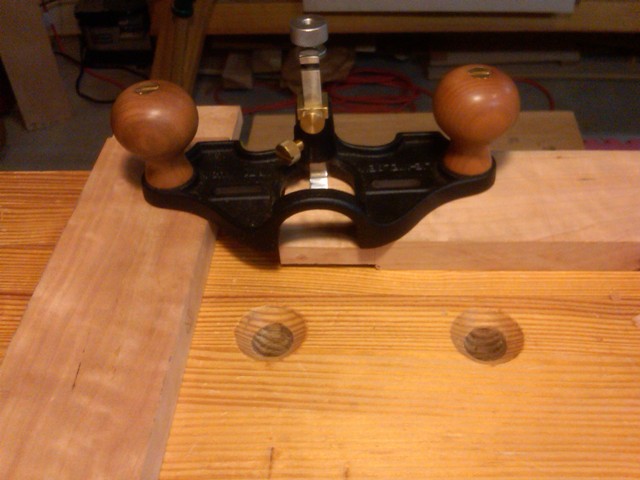
I sawed out the tenons then corrected any unevenness with a router plane. I made one of the tenons 7/16 inches thick. It was an easy three step process to get to this dimension. First I marked the tenons with a cutting gauge to a fat 1/2 inch. Then sawed them out trying to split the line. Then I incorrectly set the router plane to the wrong depth taking too much off causing the tenons to be a thin 1/2 inch. Then I just set the router gage to the correct depth to get to 7/16. Done! I corrected this faux pax on the other tenons which came out to an accurate 1/2 inch. Ok so I wondered what RW said about this?
According to page 68 RW states that “The accurate sawing of tenons is a vital skill”…and “the tenons should fit from the saw”. Fortunately, on page 72, he shows us how to use a router plane to correct a thick tenon. I looked but there is nothing about fixing a thin tenon so I assume my technique of changing the tenon thickness is the best approach. He also includes pictures of what the tenons should look like as they are sawn out. In looking at the pictures I did notice that I had been incorrectly starting my saw at the near corner of the tenon instead of the far corner which Mr. Wearing points out. In thinking about this I agree because starting at the far corner puts the saw on the line in the place that is most difficult to see. It is easier to saw toward your body then to saw away from your body. I will remember this next time and report back on my luck.
That said the router plane technique works perfect. It also has the benefit of ensuring that the tenon is exactly in the middle of the stuff. I have made tenons that were not in the middle of my stuff causing the stock to be proud on one side requiring more planing work. Again these problems are related to making a mistake in marking a line or getting to it.
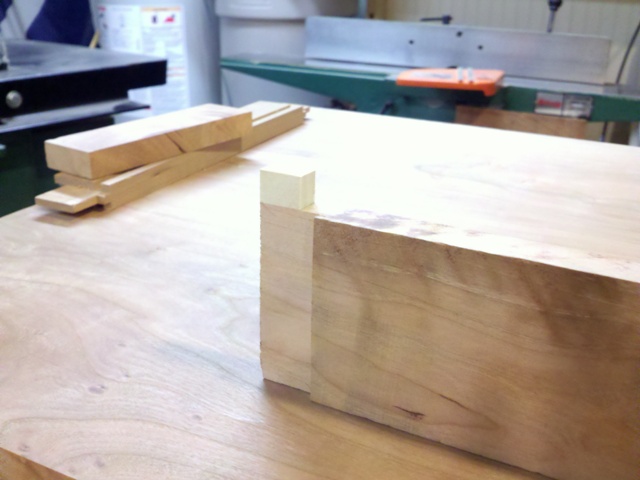
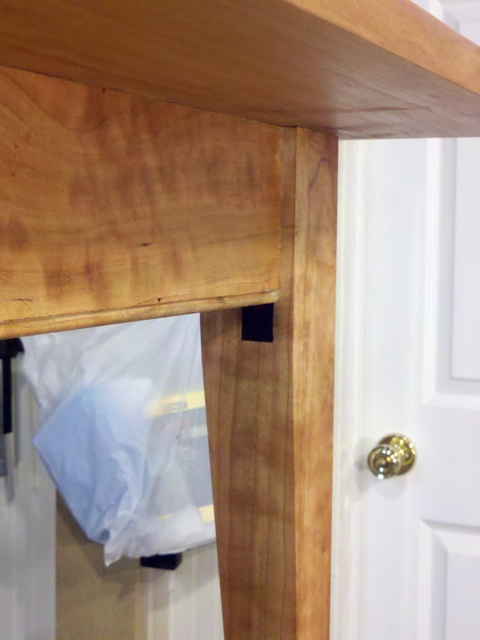
Another marking mistake came when I cut the mortis on two of the legs to the line that marked the beginning of the taper not the end of the mortis. The mortis was 3/4 inch too long causing an unsightly gap. This became a inspiration for adding some flare. I glued a spacer on the end of the tenon (shown in the pic) and when it was inserted into the mortis it caused the tenon to be supported and left a small gap which I filled with some ebony that Chris had given me years ago.

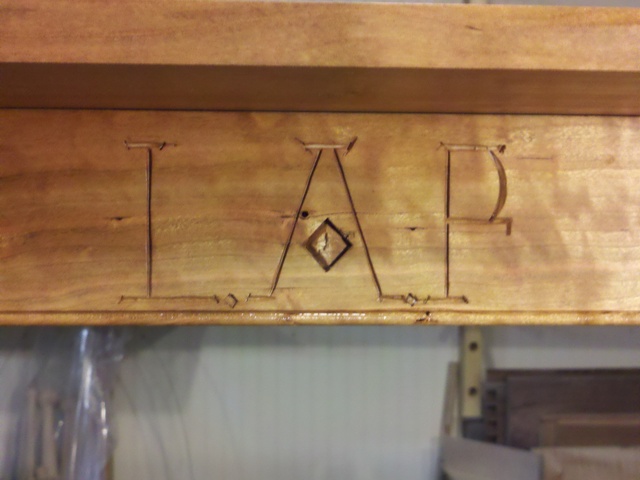
The last design flare was the result of a large chip of wood coming out of the apron board as it went through the thickness planer. Fortunately the chip was pretty much in the middle of the board and I decided to use it as the middle of the letter “A”. I carved the letters L and P on either side for a really cool design. Fortunately all the mistakes were on the one side of the table so it looks like it was done by design. At least that is the story I am sticking to.
Best John