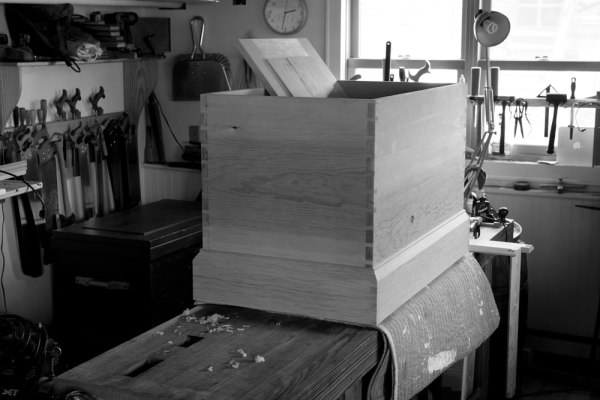
The hardest part of building a traditional tool chest is to fit the 6”-wide lower skirt all the way around the dovetailed carcase. No matter how careful you are, it’s easy to end up with a gap between the skirt and case.
I have concocted at least five different ways to fight this gap.
1. Fill it with water putty.
2. Plow a groove around the dovetailed carcase where the top of the skirt goes. Glue a thin strip of wood to the inside of the skirt pieces at the top of the moulding that fits in the groove.
3. After assembling the carcase, run the whole thing through a wide-belt sander to true up the carcase.
4. Make the beveled section of the moulding a separate piece that you miter and nail on top of the dovetailed part of the skirt.
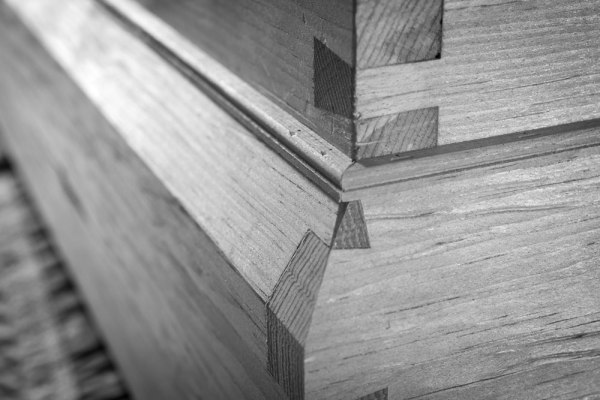
5. Add a 3/16” bead moulding that is stuck onto a 1/4” x 1/4” strip of wood – miter it at the corners.
This fifth solution is my favorite. Today I added this bead detail to a full-size tool chest I’m building for a customer. I had a small gap – a little less than 1/16” at one corner – between the lower skirt and the carcase. While the skirt looked tight in the dry-fit, something went wrong.
To fix it, stick the 3/16” bead onto the four long edges of a 1-1/2” x 1-1/2” x 48”-long piece of pine. Then rip the four corners off to make four pieces of 1/4” x 1/4” x 48” moulding. Miter, glue and nail it to the lower skirt.
The whole process took about 30 minutes. It adds a shadow line to the lower skirt and spares the water putty.
— Christopher Schwarz