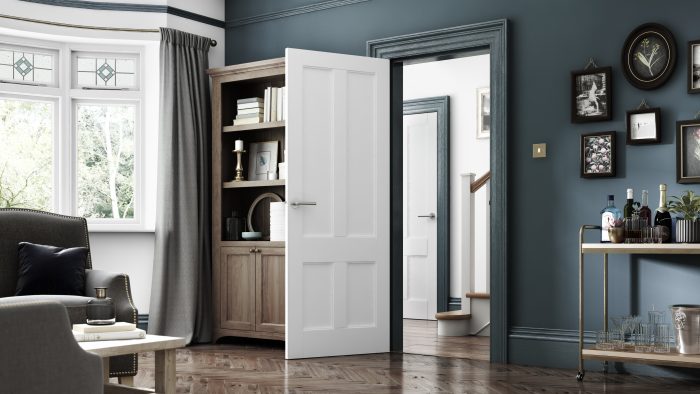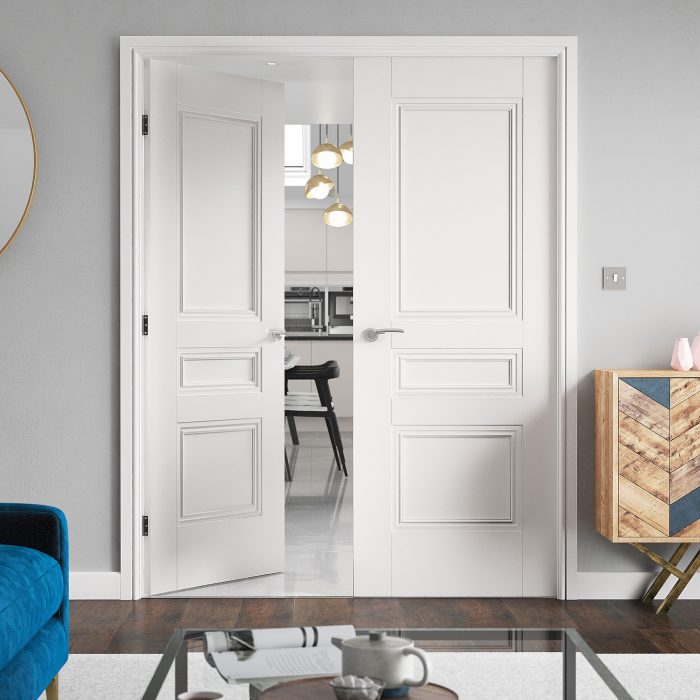
Looking to give your furniture a whole new look? Chalk paint is the way to go. This type of paint can help spruce up your walls, ceilings, kitchen cabinets, internal unfinished doors and more and is suitable to use on a wide variety of surfaces including wood, metal, plastic and even brick.
Chalk painting is hugely popular right now – especially amongst beginners as it’s practically foolproof. No sanding or priming is necessary, instead, you can head straight to the fun part of painting and transform your home in no time.
Whether this is your first painting project or you consider yourself a pro, we’ve put together this guide that’s filled with plenty of tips and tricks to help you achieve the perfect paint job.
1. Preparation
Chalk paint requires no prep or priming but, before starting, it’s a good idea to remove any hardware, like handles, from the furniture if possible as this will make painting easier. You may also want to give the piece a quick clean with a damp cloth to remove any grease or dirt for a smoother finish. Be sure to avoid any harsh chemicals though so you don’t end up stripping the piece.
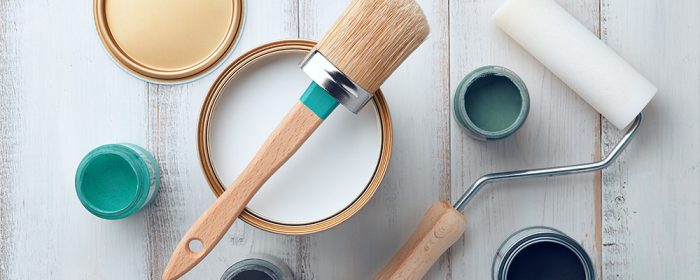
2. Apply the Chalk Paint
When you open the tin of your chosen chalk paint colour, use a stir stick or anything else you may have to stir the paint to ensure the colour and the consistency of the paint is flawless. Then, dip your brush in and apply the paint straight onto the surface. Don’t be afraid to move the brush in every direction all over the piece. This part doesn’t have to be neat or precise, you just need to get the paint on there.
3. Wait for the Paint to Dry
Once you’re happy with the coverage of the first coat leave it until it’s touch dry. This could take anywhere between 1-3 hours depending on the climate – it’ll take longer to dry in cold environments. Don’t worry if it looks a little patchy in some places as this will be covered during the second coat. The only thing to watch out for is paint drips as these can be tough to remove later on, so make sure the paint is as even as possible and not too thick.
4. Apply a Second Coat
When the first coat is dry to the touch, apply a second coat in the same manner. Moving your brush in all different directions to cover the entire piece. Touch up any patchier areas and again, remember to not apply the paint too thickly, instead build it up if needed. Wait for the paint to be fully dry before moving on to the next step.
5. Apply Chalk Paint Wax
This step is optional but it can help prolong the paint and give it a more professional-looking finish. The chalk paint wax is just as easy to apply as the paint. Use a brush or even a lint-free cloth to apply it in all directions and remove any excess as you go. You’ll need to ensure that every section of the paintwork has been covered by the wax.
6. Admire your Handiwork!
As soon as the wax is touch dry you can use the piece of furniture right away! Although, it’s important to note that it will take around 2 weeks for the wax to reach its full hardness and complete the curing process so do be careful with the piece.
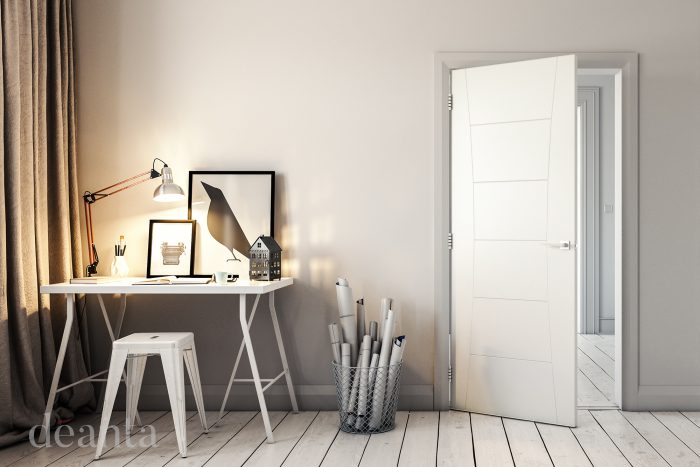
View our impressive selection of sleek, unfinished internal fire doors that are ideal to chalk paint while ensuring maximum safety in your home.