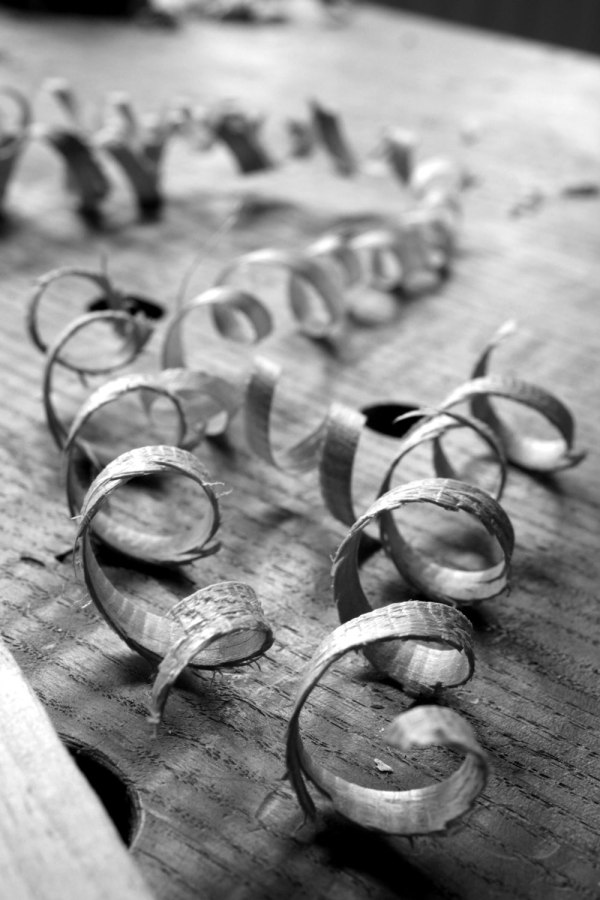
I get asked about the equipment I use to take the photographs for this blog, my magazine articles and the books at Lost Art Press.
I think that equipment has little to do with photography. But don’t tell that to the people on photography message boards. If you think the woodworking forums are kooky at times, they are Romper-Room in comparison to the ones on photo equipment.
Until December, my photo equipment was one small notch above the Harbor Freight level. And while I’d rather talk about composition, lighting, depth of field and exposure, I’d like to get the equipment discussion out of the way. I’ll discuss the more important stuff at a later date.
When we bring a new author on board at Lost Art Press, here is what we tell them about equipment.
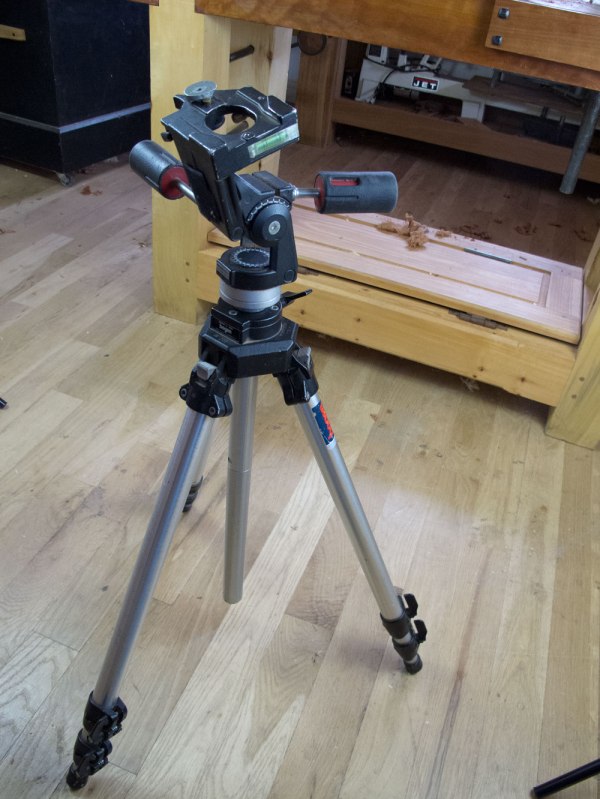
Tripod
The one place I’ll never skimp is on the tripod. It is the workbench of the photography world. I have a 20-year-old Bogen/Manfrotto tripod that I’ve rebuilt twice. You can find these pods on Craigslist. Even if they are beat to heck, they can be easily brought back. They were designed to last forever.
Many exposures in the workshop and with furniture can be quite long, so a good tripod is non-negotiable.
An SLR
Any entry-level digital SLR will do the job. I find camera bodies to be disposable. The lenses are where I’ll spend money because those will be with you forever. Until I recently bought a “prosumer” camera, I used Canon Rebel bodies. I don’t give a crap about megapixels. I just buy the camera with the largest sensor that is on sale.
You want a camera that can easily drop into full-manual mode. If you can’t manually adjust the f-stop, shutter speed and focus, the camera will frustrate you in the shop. The exposure meters in cameras are not your friend. The auto-focus is not your friend.
Full manual. Full manual. Full manual.
One last detail, the camera should be able to shoot RAW files (most cameras do). It is much easier to control everything (color, exposure, sharpness etc.) in the frame with a RAW file.
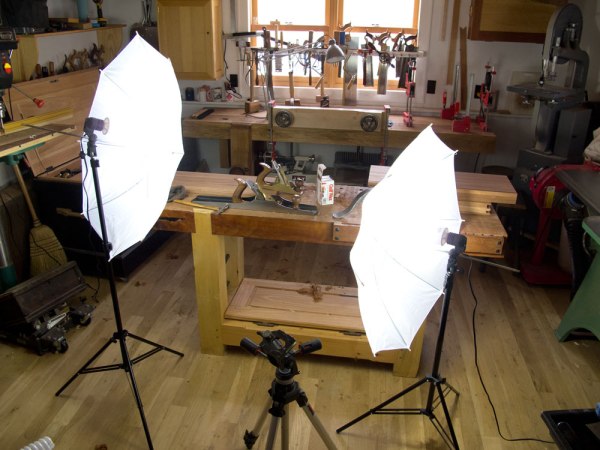
Lighting
A good set of lights can cost as much as a car. Luckily, you those are not the lights you are looking for. I recommend a low-cost continuous lighting system that uses CF bulbs, such as this Cowboy Studio system. Yup, the whole three-light rig is $60 and it is all you need to photograph your furniture and work at the bench.
Yeah, it’s not an Italian light setup. It’s a lot of plastic, and you need to be careful not to break the bulbs. But for the amateur (or someone writing their first book) I think it’s perfect.
The two umbrellas diffuse the light and make things nice and flat. Then you can use the third light to create shadows or highlight some part of the frame.
A Cable Release
One last thing, get a cable release for your camera. This will minimize camera shakes during long exposures. If you are too cheap to buy a cheap cable release, use the self-timer on your camera.
— Christopher Schwarz