One of my favorite stories is how the writers for “The Straight Dope” column sent a fake hand-lotion recipe to the “Hints from Heloise” column – mixing vegetable shortening and sugar. Heloise printed the recipe and added that she’d been using the concoction for years.
Go ahead. Go to the kitchen and try it. I’ll wait here.
I’ve been reading a lot about the Danish “soap finish” these last few months, plus the chemistry and history behind it. A lot of this research will be included in my forthcoming book (which, by the way, will have a new title, so I’ll call it “Formerly the Furniture of Necessity”).
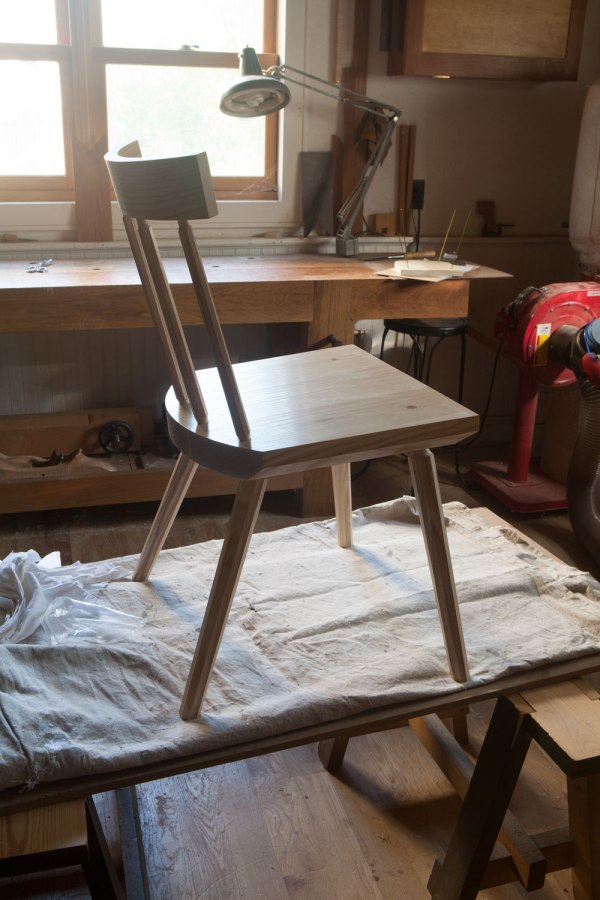
This week I made and used a soap finish for the first time, applying it to an ash chair that also will be featured in the book. I like using the finish a lot. It’s basically an oil finish (from vegetable or animal oils) that leaves a waxy residue behind that can be buffed up. I’m going to put the chair into hard use in the house to see how it holds up and report back.
This post is to encourage you to give the soap finish a try, and to dispel some of the questionable advice I’ve collected on it.
First, on the sheen of the finish. While aged soap finishes I’ve seen on Hans Wegner chairs are indeed dead-flat, a new soap finish looks much more like a wax finish. I’d call it semi-gloss.
Mixing the soap finish is easy. I recommend you make a very small batch to get a feel for the different results you get from mixing soap flakes and boiling water. You can get everything from a soup to a bowl of exploded jellyfish to a stiff paste. A stiff paste is what I was after.
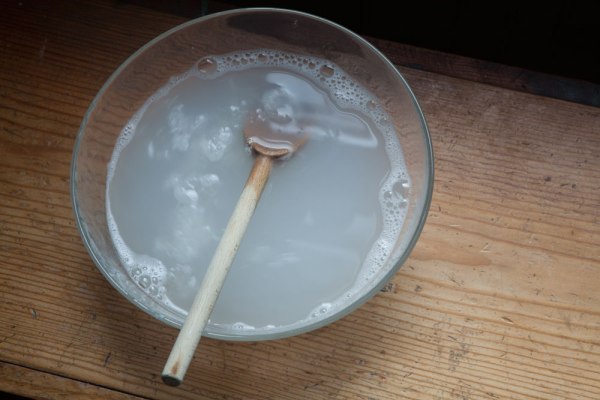
For my first batch I used one cup of soap flakes and one quart of boiling water. This recipe was a cruel joke. It made a grey soup that was suitable for washing clothes, not finishing furniture. When I applied it to wood it mostly made the wood wet and not much else.
Next I tried equal parts soap flakes and boiling water. This made the blown-up jellyfish parts (I hate jellyfish; I got one in my swimming trunks once and it burned my delicate parts). Even after I let this mixture cool, it didn’t make anything I was eager to apply to finish. It was too runny.
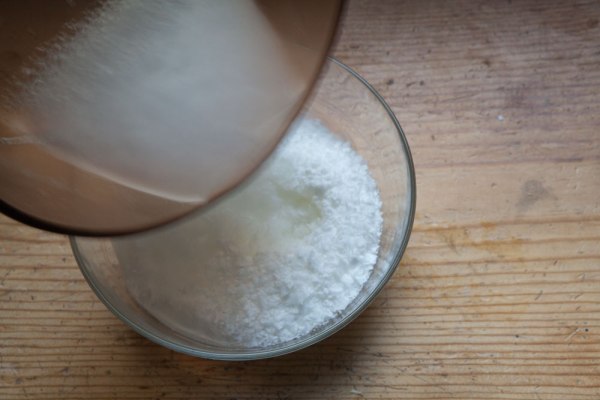
So I took an approach that I recommend you try: Boil a cup of water and pour about half of it into a cup of soap flakes. Mix it and see what happens. If it’s too runny, add soap flakes. If all the flakes haven’t dissolved, add a little water.
The result should be stiff and meringue-like. After it cooled it became a little harder and less mushy.
How to apply it?
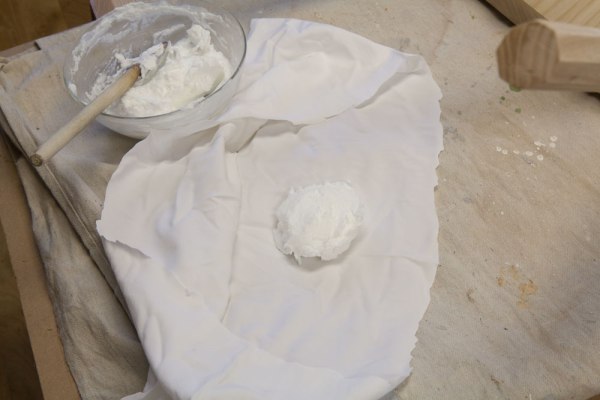
You can put it directly on the wood, but I found that to be messier than the process recommended by Caleb James. Essentially you make a rubber like you would for French polish. Take a dollop of the soap and put it in the middle of a soft cotton cloth. Wrap the soap and twist the “tail.” The soap soaks through the cloth as you press it against the wood, applying a nice film after a few minutes of work – your body heat from your hand and the friction soften the soap nicely.
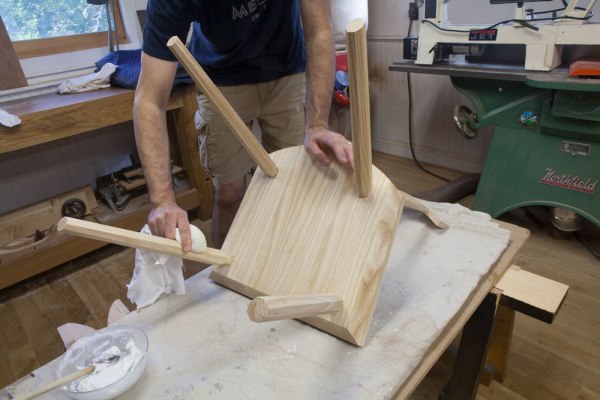
After the soap dries for a few minutes, buff it with a clean, soft cloth.
Some people have reported that the finish raises the grain. I didn’t find that. Perhaps they were using soap soup.
More on the soap finish as it develops.
— Christopher Schwarz
Where to buy soap flakes:
- Dri-Pak Pure Soap Flakes
- Pure Soap Flakes Co.
- GreenHome
- And many other retailers. Look for stuff that doesn’t have fragrance or other additives. You want lye and oil.