Note: Lately I’ve been pouring all of my creative energy into writing my next book (and editing the books of others). And with Jeff Burks on vacation, the content has been a little light here. So here is the draft miniature chapter I wrote on the airplane on using nails.
I’m often asked why I prefer nails to screws. Here are three reasons: Nails look better. They are quick to install with a hammer. And they allow for wood movement during changes in temperature and humidity.
Screws are ugly (I know, this is in the eye of the be-screwer or be-nailer). They should not be installed with a hammer. And they can crack your work when the weather changes – unless you take extra precautions.
That said, properly installed screws hold better. It’s a fact. And they are more accepted by the woodworking elite.
Nails, on the other hand, seem to be the herpes of the furniture-making world. I was taught this hierarchy: Wood-to-wood joinery is the best. Screws are OK. Nails are for rough, temporary or indifferent work.
But nothing could be further from the truth. Nails have been at the core of fine woodwork since Roman (perhaps Egyptian) times. We are just too blind to acknowledge it. Nails are often invisible to the eye – they are toenailed under a shelf or divider. Snaking into a plinth. At the back of a piece and facing the wall.
I see nails as important as the hardware you use for a piece – the hinges, knobs and locks. Cheap nails look like crap. Good nails enhance the piece. But what’s a good nail? Allow me to sidestep the question for a moment and present a historical aside. I would rather show this to you than simply tell it.
Wrought, Cut and Wire Nails
Nail nerds (reporting for duty!) divide the nail world into three broad categories based on how the nail was made:
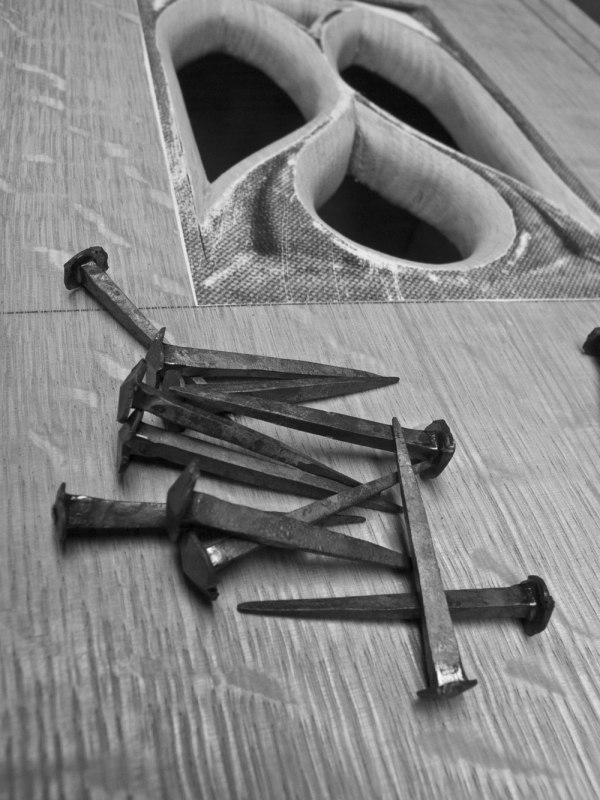
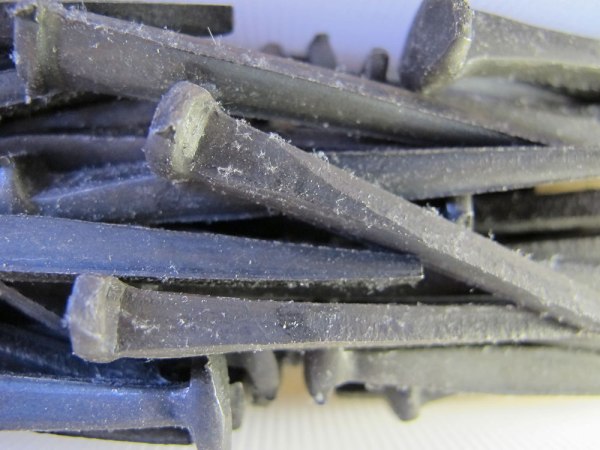
Wrought or Roman Nails: These are blacksmith-made. The nail’s shaft is roughly square in section and tapers to a point on all four of its edges. The head is formed with hammer blows and typically has three facets.
Once you master these nails, they are iron joy. They bend and move readily. They cinch down hard. They will rob your body of a kidney if you don’t have a trust fund. A blacksmith will charge you more than $1 a nail. That will seem like a lot of money until you start to use them in your work. Then you will know that you are being undercharged.
Oh, and they look fantastic.
Cut Nails. In the later 18th century (as near as I can tell), ingenious mechanics developed machinery that could shear out a ton of nails in a short period of time. All that was required was a flat bar of steel and a machine that could “cut” the steel.
Cut nails are a rectangular square in section. In one view of the nail it has parallel sides. In the other view, it tapers. And it usually has a head.
Because of the shape of its shaft, a cut nail needs a pilot hole (except in some soft woods) and has to be oriented a certain way to avoid splitting the work. Think of the nail as a wedge. It is. Apply the wedge so it pushes against the end grain of the top board you are nailing down. Otherwise you are splitting mini firewood with your nail.
If this confuses you, don’t worry. You will do it wrong only once.
Wire Nails. OK, these really are the venereal disease of the nail world. They have a round shaft. They don’t hold for squat. They are cheap. They don’t require a pilot hole. They are the reason people think nails are for rough work.
I avoid using wire nails in my work unless I want them to work loose about a week after I drive them in. Which is never.
Bottom line: I use wrought nails when I (or the customer) can afford it. I use cut nails when I cannot afford wrought nails. I use wire nails to sprinkle the driveway of my enemy.
On the Naming of Nails
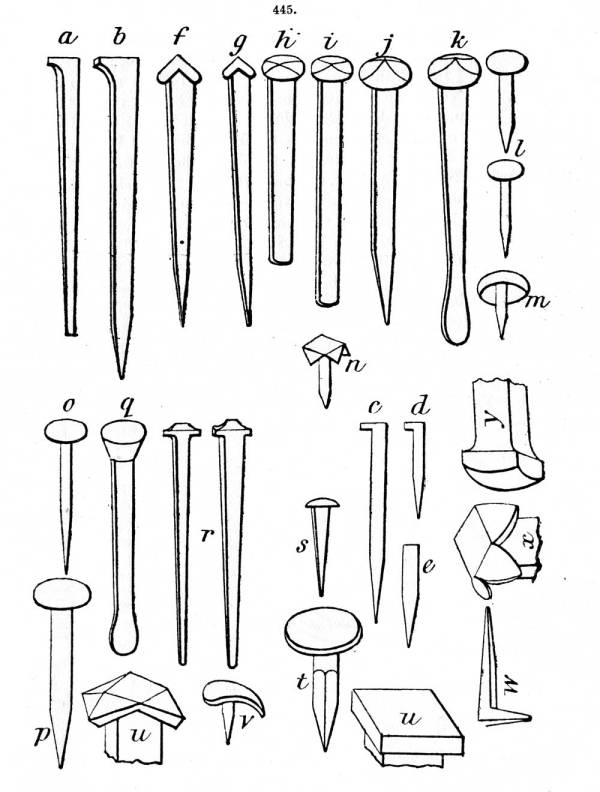
Nails have a ridiculous number of confusing names. For the most part, I suggest you ignore the names at first and focus on how they look. That will usually tell you what they are good for. For furniture work, we usually use four types of nails.
Brads. This generic name refers to a nail with a smallish head. The brad is used to lock shelves into dados with what is called a “toenail joint.” Or to fasten one piece of wood to another when the head should be small. Because the head is small, the brad’s holding power is in its shank. So it’s not the best nail for attaching a cabinet back or a chest’s bottom boards.
Clouts or Roseheads. Nails that have a prominent head have the most fastening power. They can keep a cabinet back or chest bottom from being pulled off a carcase. The price of this holding power is that the head is quite visible in the finished piece.
Many times this form of nail is used for “clenching,” which is when an extra long nail is driven through two pieces and the too-long tip is driven back into the work.
Headless Nails. These thin nails have little or no head. They are used mostly for attaching mouldings and hold the work in place while the glue dries.
Pins. These are usually wire nails with a head that are used for attaching lightweight pieces of hardware, such as an escutcheon for a lock, or for temporarily holding pieces of veneer in place.
On the ‘Penny Size’ of Nails
The origin of the so-called “penny system” of sizing nails is murky – on par with the stories surrounding the “nib” on the tips of old handsaw. Suffice it to say that the reason we still use the old penny system is because it is fecking brilliant.
How long is a 5d nail? (The “d” stands for “penny.”) I think I know the answer, but I’d have to look it up first to be sure. The point is that it doesn’t matter how long a 5d nail is, as long as you don’t use the metric system.
Here’s how it works: When you nail things together you have a top board and a bottom board. The nail enters the top board first and then passes into the bottom board.
So how thick is your top board? Let’s say it is 1/2” thick. Now convert that fraction, 1/2”, to eighths – 4/8”. The top number, 4, is the penny size you need: or 4d.
There are exceptions. When working in soft pine, you should increase the nail size by one penny, or 5d in our example. And the second exception is this: Use your intelligence. If the bottom board is very thin, the particular boards at hand are easy to split, you are clenching the nail or you need massive amounts of holding power, you need to adapt and adjust.
On the Pilot Hole
Wrought nails and cut nails usually need a pilot hole, otherwise you will end up splitting the top board. The size of the pilot depends on many factors, mostly how close your nail is to the end of your board and the species being nailed.
My best advice is this: If you are unsure if you will split the work, make a test joint that is identical in every way to the real joint. Start with a pilot hole that is the same size as the tip of your nail. For example, my 4d clout nails have a tip that is about 3/32”, so that’s where I begin.
Drill the pilot to a depth that is only two-thirds the length of the nail’s shaft, otherwise the joint will be weak. If the top board splits, move up a size in bit diameter. Repeat until the joint holds and does not split.
This sounds arduous. It isn’t. After a few projects you will get a feel for the right pilot hole.
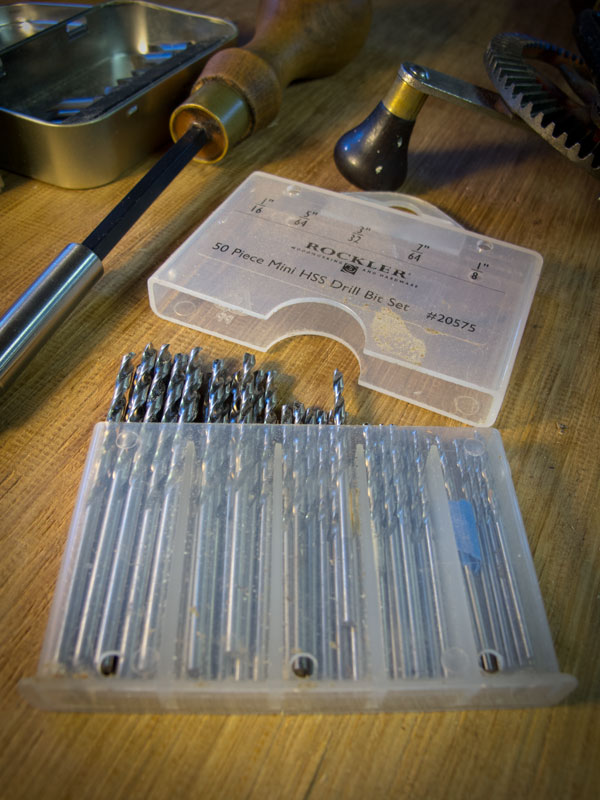
One caveat: With wrought nails, I like to use a drill bit that tapers along its length. This greatly reduces splitting.
Driving & Setting Furniture Nails
If you’ve done your due diligence, then driving the nails is the easy part. I like a hammer with a 16-ounce head for most nails. For pins and headless nails I use an 8 oz. cross-peen hammer. The cross-peen is ideal for starting the nail without whacking your fingers.
If your hammer has a slightly domed striking face, you should be able to set the nail flush to the wood without denting it (called “Frenching” by the “English”).
Setting the nails is done with a nail set, also called a nail punch. You usually don’t set clouts or roseheads because the head will splinter the work badly. For brads and headless nails, set the nail 1/32” below the surface – and no more than 1/16”. Setting the nail deeper will make the nail hole difficult to putty or it will simply call more attention to itself if you don’t putty the nail.
Nail sets/punches for furniture making usually come in three sizes. Use the one that most closely matches the size of the head.
The above description is the absolute shortest treatise I could write on nails. There is a lot more to learn, but the education should come from the end of a hammer, not a book.
So don’t read another word on nails until you’ve driven a few cut nails or wrought nails using the instructions above. Most of the questions in your head right now will evaporate as soon as you get busy.
— Christopher Schwarz